
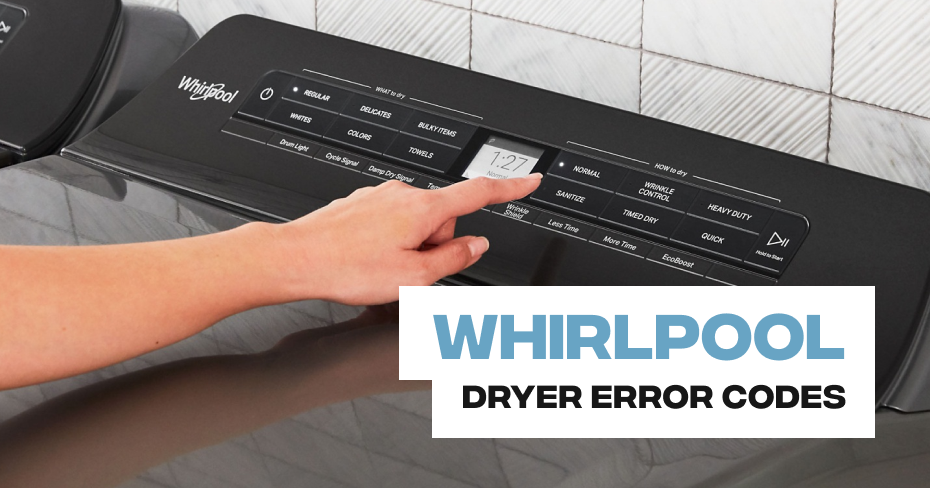
Whirlpool Dryer Error Code F:70 or F:71
If your whirlpool dryer is displaying an F70 error code, you’re in the right place.
In this article, we will give you step-by-step instructions for how to find the cause of the problem and fix it. But before we do that, let’s briefly discuss what the F70 error code means.
What Does the F70 Error Code Mean?
The F70 Error Code means that the user interface board cannot communicate with the main control board. This means that when you try to set your dryer the main control board doesn’t get the message/signal, so your dryer won’t be able to work properly.
Step 1 – Try to Reset Your Dryer
The best place to start is to try to reset your Whirlpool dryer. This is because sometimes the error code can be displayed when it shouldn’t, so a simple reset will solve the problem.
Here’s how to reset your Whirlpool dryer:
- Turn the power off for 1 minute. You can either turn it off at the wall or turn the circuit breaker off.
- After 1 minute, turn the power back on, and try to turn it onto a cycle.
- If the error code is still showing, move on to the next step.
Step 2 – Replace the User Interface Board
The user interface board is a printed circuit board that works with the display unit and the control board buttons to ensure your dryer operates how you want it to. Sometimes the user interface board can wear out over time, or it can short out during a power surge. In some rare cases, it can also become damaged if it comes in contact with water or your dryer becomes extremely hot. If the board becomes defective, it will need to be replaced, as it cannot be repaired.
Here’s how to replace the user interface board:
- Turn the power to your dryer off. You can either turn it off at the wall or turn the circuit breaker off.
- Remove the top access panel – you will have to unthread a couple of screws to get it off.
- Locate the user interface board – you can find it behind the control panel (check your manual if necessary).
- Once located, take the control panel mounting bracket off.
- Remove the electrical connector from the board, and then take the board out.
- Attach the new user interface board in place, and then reattach the wire connector and the mounting bracket.
- Put your dryer back together, and check if the problem has been solved. If not, move on to the next step.
Step 3 – Check the Control Board Connectors
Another potential reason why your Whirlpool dryer is displaying an F70 error code is if the wires that are connected to the control board are defective. Over time the connectors can become corroded and will stop working, or in some cases, the connectors can become loose.
Here’s how to check the control board connectors:
- Turn the power off to your dryer. You can either turn it off at the wall or turn the circuit breaker off.
- Remove the access panel so you can access the control board (check your manual for instructions if necessary).
- Locate the control board.
- Check that the connections are not loose on both ends. If they are, tighten them.
- Check the connectors for any signs of corrosion. If corroded, they will need to be replaced. If they are fine, move on to the next step.
- If you replace the connectors, turn your dryer on and check if the problem has been solved. If not, move on to the next step.
Step 4 – Replace the Main Control Board
The main control board is like the brain of your dryer. It tells all of the components in your dryer what to do. When it becomes defective, your dryer might stop working, and the F70 error code might show.
The main control board can be defective for a number of reasons. Sometimes it can just be due to normal wear and tear, or sometimes it’s due to an electrical surge occurring or through water and heat damage.
Replacing the main control board can be quite expensive and isn’t a guarantee that your dryer will work properly again. Instead of replacing the main control board, you might be better off simply purchasing a new dryer – especially if the dryer is old.
If you do decide to replace the main control board, to do it:
- Make sure the power to the dryer is turned off. You can either turn it off at the wall or turn the circuit breaker off.
- Remove the access panel so you can access the main control board (check your manual for instructions if necessary).
- Locate the control board.
- Remove the screws that hold the control board in place, and disconnect the connectors.
- Remove the old control board, and put the new one in place.
- Reattach the screws and connectors.
- Put your dryer back together, and then test if the error code has gone and your dryer now works.