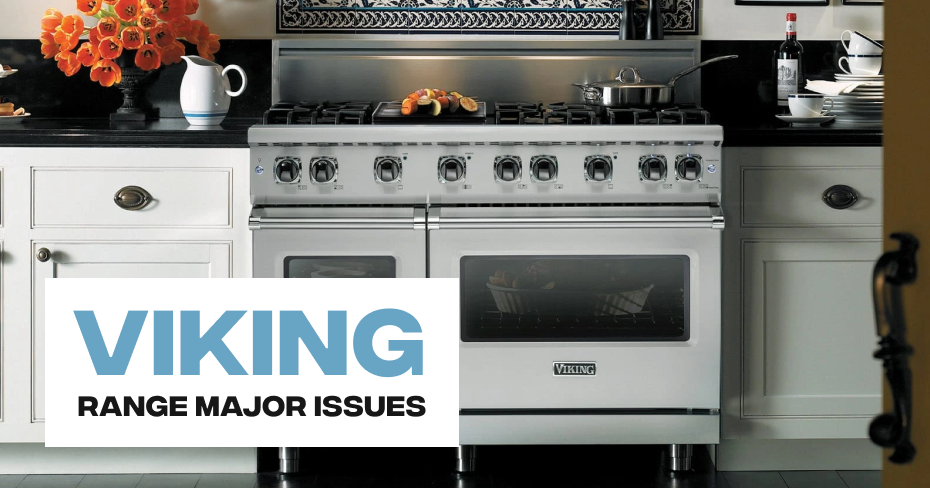
Viking Range Faulty Igniters
Viking stove ranges use an electrical ignition system to light gas coming out of the burner. Turning the gas control knobs at the front of the unit to the “light” setting causes the electric ignition to create a spark. The spark ignites the gas. An ignitor that keeps clicking might not create the spark necessary for ignition. Replacing the ignitor or the ignition switch at the front of the stove may be necessary to repair the issue.
Opening Up the Stove
To access the ignitor, you need to lift up the hood of the stove. Before working on the stove, unplug the stove from the wall. This prevents shocks or accidentally lighting the stove while working. Lift up on the front of the stove to prop up the lid on its hinges. Slide a putty knife under each side of the stove top if the hood doesn’t release.
Cleaning the Ignitor
Food cooked on the stove top may spit grease into the air that can clog the ignitor and prevent a spark from occurring when the switch sends an electrical signal to the ignitor. Scrub the ignitor with a toothbrush to remove as much grease and grime as possible. Do not use water because this may prevent the electrode from working properly.
Replacing the Ignitor
The ignitor is attached to a metal brace running along the oven top. Remove the screw from the bottom of the ignitor to release it from the brace. Pull on the wire at the bottom to remove it from the connector, or release the entire wire from the switch at the front of the stove. Contact Viking for a replacement ignitor for your stove model.
Switch
The switch is located behind the gas control knobs at the front of the stove top. The switch provides the electric signal required for the ignitor to work. Pull off the knob at the front of the stove for the faulty ignitor. Pull the switch out and loosen the screw holding the ignitor wire in place. Insert the wire into the new switch and test.
How to Repair the Electronic Ignition on a Gas Stove
Gas stoves commonly have an electric ignition system. This ignition system provides a spark to the gas supply exiting from the burners. A small switch on the front of the oven, or the gas control panels themselves, activate the sparking ignition. If the system has bad wiring or a blown fuse, the oven will not light no matter how long you activate the ignition. Most ovens have fuses and ignition systems that are simple to access and repair.
Step 1
Unplug your unit and turn off the gas supply at the saddle valve near the unit.
Step 2
Lift up the hood of the oven. If you have sealed burners, the lid will not lift up. Locate the ignitors near the burners of the unit. Clean any gunk away from the ignitor using a toothbrush. Test the unit.
Step 3
Pull the burner dials off the front of the unit if the ignitors won’t work.
Step 4
Remove the screws at the ends of the front cover, where the gas supply knobs are located, using a screwdriver, and remove the cover from the oven.
Step 5
Slide the wires off the burner valve switches and pull them off the burner valve by sliding the switch forward. The switch will have wires attached to it. Loosen the screws holding down the wires of the burner valve. Pull out the wires carefully. Place the wires in a new switch. Slide the new switch onto the burner valve. Replace the knob, and turn on the gas supply and power. Ignite the burner.
Step 6
Follow the switch wires into the oven if the new switch doesn’t work. Locate the module box, which is usually 2 inches by 3 inches. Slide the wires out of the module terminal by pulling on the wire connectors. Remove the screws from the old module and pull the module out. Insert the wires into the new module, using the same wire orientation as before. Reassemble the oven. Turn on the electricity and gas, and turn on the burner.
